
How to Decarb Weed in a Mason Jar
Decarbing cannabis is perhaps a technique you’ve heard of as you’ve been exploring the world of weed. Decarboxylation helps activate some of the compounds within marijuana. When done correctly, it activates the potency of the herb and extracts the full benefits.
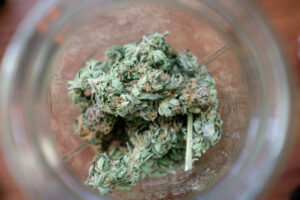
Decarbing weed using a mason jar is a preference for many as it allows you to simplify the process. You don’t have to endure the strong odors from decarbing as the mason jar acts as a way to minimize it. It also helps preserve terpenes that often evaporate when decarbing using other means.
The Importance of Decarbing
 The potency of weed products today would not be possible without decarbing. It allows us to enjoy the primary psychoactive and medicinal effects of weed products. You’ll notice that some labels of products will have THCA or CBDA, which means they have gone through the process of decarboxylation. This process activates the cannabinoids within the plant, turning them into acid.
If you’ve handled products that haven’t had any decarbing, you’ll notice the difference immediately once you’ve tried an activated version. Many defend it as the primary way to gain the benefits hidden within the plant.
Decarbing With an Oven
 You’ll first need an appliance that can heat weed to the adequate temperatures necessary for decarbing. If you’re working with an oven, you’ll need protection.
Gather the following items:
- Oven gloves
- Kitchen towel
- Baking tray/sheet
These items make it easy to move the jar in and out of the oven as needed. Make sure your mason jar has a lid as you’ll need to seal the weed during the decarbing process. Lastly, you’ll want the weed that you’re going to decarboxylate.
If you are looking to decarb cannabis in the oven, here is the step-by -step process:
- Preheat the oven to around 220 to 240 degrees Fahrenheit.
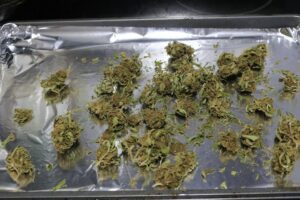
- Break up the cannabis until each part is about a rice grain’s size. Place it inside the mason jar and lightly seal the lid.
- Wet your kitchen towel and fold it twice before laying it on the baking sheet. It will anchor the jar and prevent it from getting into direct contact with the sheet when it heats up.
- Place the mason jar on top of the folded towel on top of the tray.
- Place the tray on the middle rack and begin baking.
- Every 15 minutes, remove the mason jar from the oven using your gloves and give it a gentle shake. It will help disperse the plant evenly through the mason jar for an even decarb.
- After 60 minutes of baking, remove the jar and let it cool for 30 minutes.
After cooling, you have a decarbed product that you can eat or use as an ingredient to cook edibles and the like. You can also store it for future use.
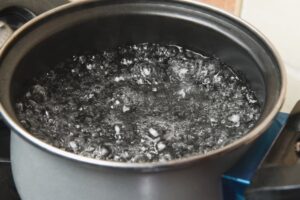
Decarbing with a Pot of Water
 When decarbing using a pot of water, you’ll still need a towel and protective gloves to handle the jar when it’s hot. You’ll want to place the towel at the bottom of the pot to protect the jar from touching it directly. An alternative for this is a small metal rack, though it may be hard for you to find one that can fit inside the pot of water.
You’ll need to fill the pot, so it affects most of the jar. Placing too much may lead the jar to float, and it won’t come out with the desired result. Here’s what you need to do:
- Break down your plant until they are the size of a rice grain. Place them into the mason jar and seal lightly.
- Fill half of the pot with water. Place it on the stove with about low to medium heat. Make sure that the water height isn’t enough to cover the jar. Don’t forget to use your towel or metal/wire rack.
- Place the jar in the pot before it starts heating up.
- When the water starts boiling, lower the temperature to a simmer.
- Keep the jar in place for around 60 to 90 minutes.
- Remove the mason jar and let cool for 30 minutes.
Decarbing Using a Multicooker (Instant Pot)
Using a multicooker’s pressure cooker is another way to decarb weed. However, if you’re going for this method, make sure you have a mason jar that can withstand the pressure. It works similarly to the other strategies, with the primary benefit being that it takes half the time. You’ll still need a wire rack to keep the jar from interacting with the cooker.
First, pour water into the cooker halfway and place the jar inside, ensuring it isn’t floating. Then, set it to cook for 40 minutes on high. Afterward, release pressure, making sure to avoid the scalding steam. Lastly, cool the decarbed plant for 30 minutes.
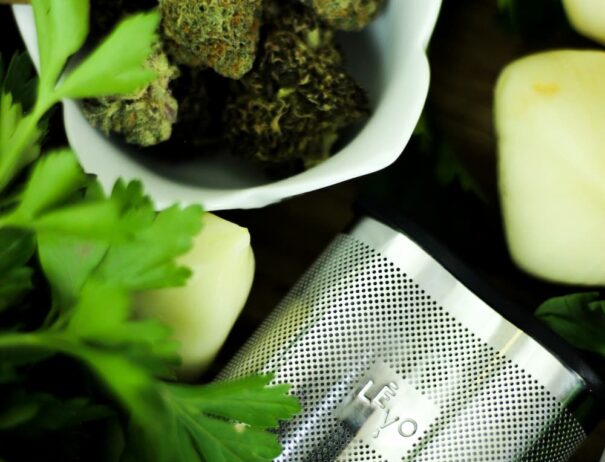
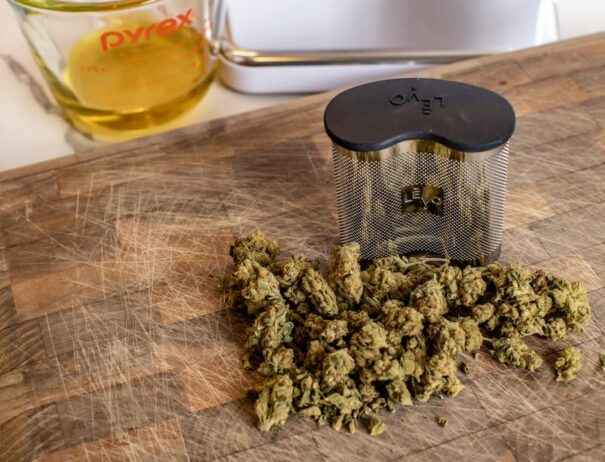
The Best Way to Decarb
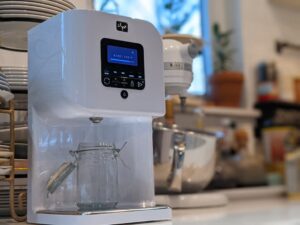 The truth is, while these decarbing strategies work well, they are often a messy ordeal. Because you’re handling high-heat items all the time, there’s also a risk of injury while trying to get things right. The best alternative is to invest in a LĒVO at-home oil infusion machine that will do the decarbing for you. Not only does it help with the decarboxylation process, but it can handle all of your infusion needs! Cost effective, made with dishwasher safe parts and smell-reducing, LĒVO will revamp your entire edible-making process. If you’re looking for a way to decarb comfortably and safely, check out their incredible family of infusion products here.

Get Your Free eBook!
Download our FREE resource, The Ultimate Edibles Guidebook, full of recipes, infusion tips and everything you need to make your first batch of edibles today!